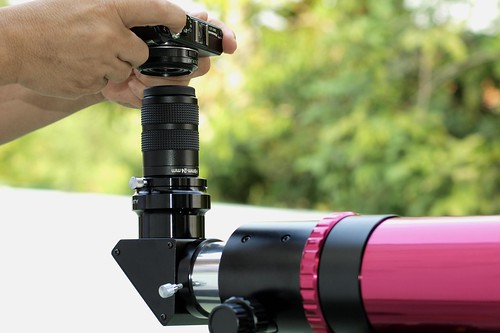
Unless you are doing MICro-Photography [more than 10x magnification on the CCD] no special equipment is needed for MACro-Photography other than a simple macro lens for the dSLR and 'macro' [close focusing] capability on the compact camera. Special flash and tripod are not required as well!
Most likely you can find around your own house compound plenty of colorful objects, such as flowers and insects which can be shot quite easily. The best time for macroPhotography is early in the morning, before 10:00am.
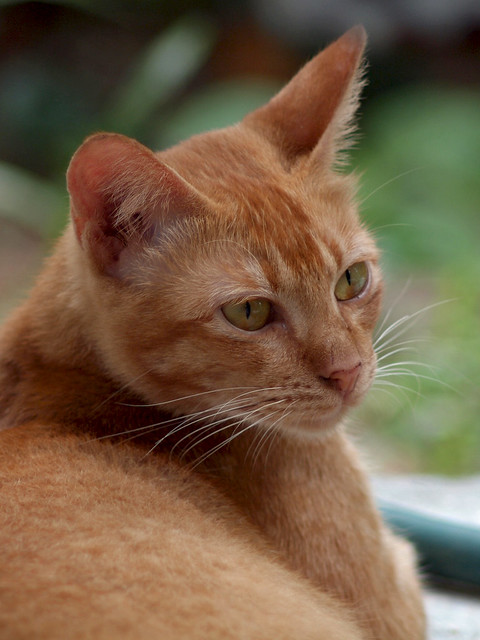
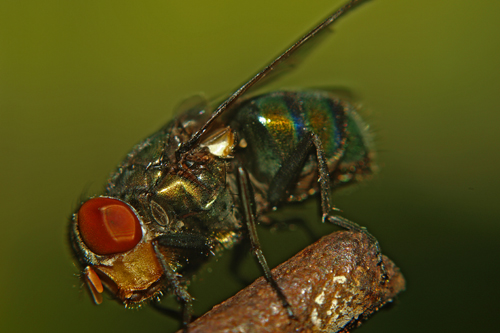
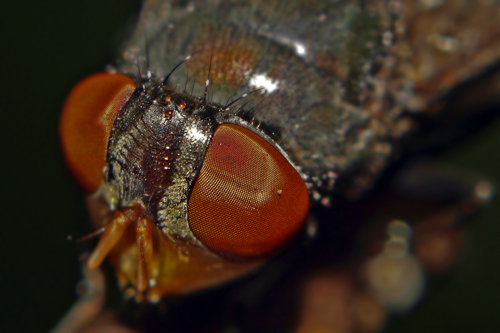
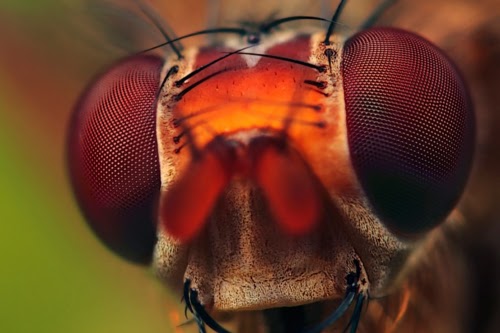
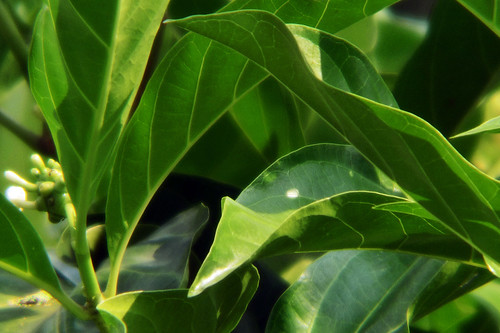
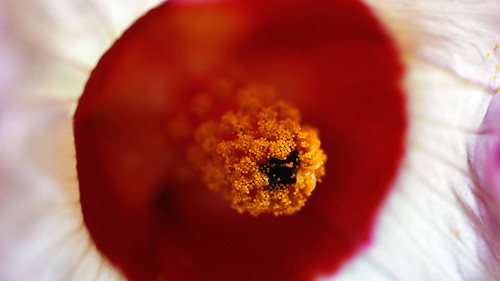
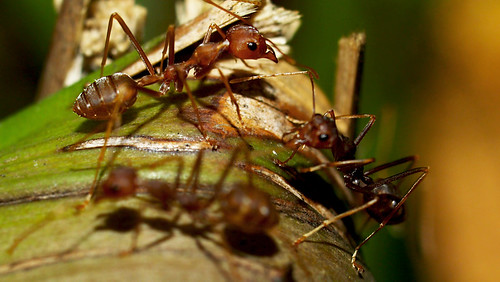
The following pictures were shot hand held around my home compound around 9:00am this morning. I only used built-in flash for fill-in lighting.
Most likely you can find around your own house compound plenty of colorful objects, such as flowers and insects which can be shot quite easily. The best time for macroPhotography is early in the morning, before 10:00am.
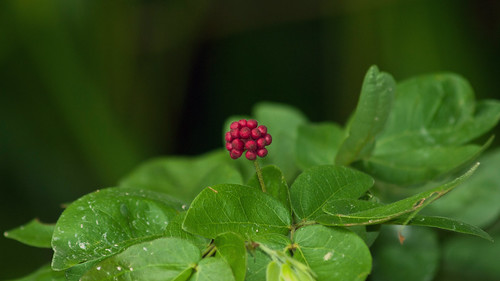
The following pictures were shot hand held around my home compound around 9:00am this morning. I only used built-in flash for fill-in lighting.

ZD 35mm f3.5 @f3.5 1/60sec ISO 200
ZD 35mm f3.5 @f4.0 1/60sec ISO 200
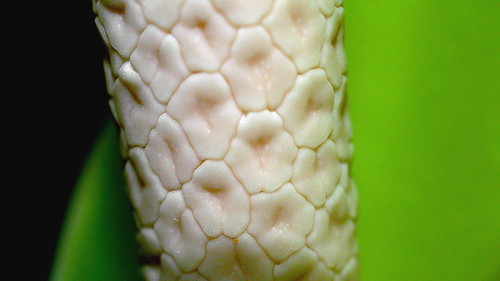
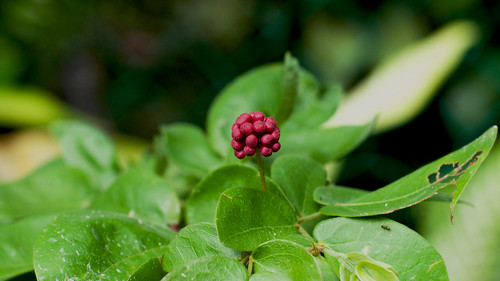
ZD 35mm f3.5 @f6.7 1/90sec ISO 200
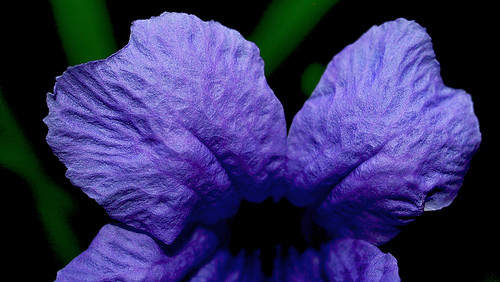
ZD 35mm f3.5 @f6.7 1/60sec ISO 200
ZD 35mm f3.5 @f6.7 1/90sec ISO 200
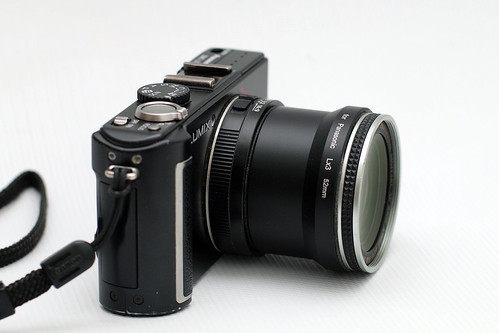
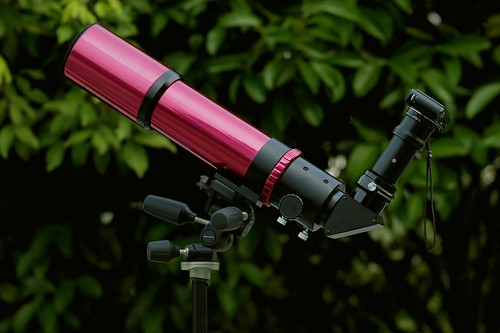
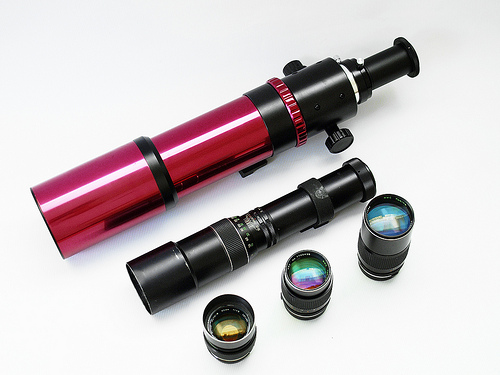
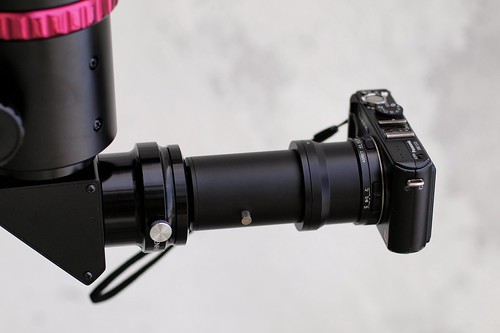
For close-up shots I normally use one of the following lenses - ZD 35mm f3.5 macro, Zuiko 50mm f1.2 with extension tube or ZD 40-150mm f3.5/4.5 mk 1 - depending upon the magnification required and the distance between the object and the camera CCD plane.

Relative Magnifications from different Lenses
The magnification is calculated from the ratio of the image size captured on CCD [not the size of the image displayed on monitor] to the object real life-size.
Note: In the 4-thirds system the CCD size is 21.63mm diagonally.
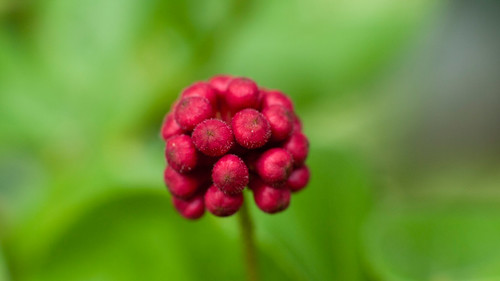
To compare the relative size of the images captured on the CCD I shot the following photos at each lens' closest focusing distance. The cluster of the red 'object' life size is around 15mm across.
ZD 40-150mm f3.5
max. object size: 17.3cm @ min. focusing distance of 1.5m
Zuiko 50mm f1.2
max. object size: 13cm @ closest focusing distance of 45 cm
Relative Magnifications from different Lenses
The magnification is calculated from the ratio of the image size captured on CCD [not the size of the image displayed on monitor] to the object real life-size.
Note: In the 4-thirds system the CCD size is 21.63mm diagonally.
To compare the relative size of the images captured on the CCD I shot the following photos at each lens' closest focusing distance. The cluster of the red 'object' life size is around 15mm across.
ZD 40-150mm f3.5
max. object size: 17.3cm @ min. focusing distance of 1.5m
max. magnification: 1:8
Zuiko 50mm f1.2
max. object size: 13cm @ closest focusing distance of 45 cm
max. magnification: 1:6
max. magnification on CCD: 1:2